If you’ve recently discovered a roof leak, don’t panic. Fixing a roof leak can be done in a few simple steps and will help keep your home safe from future damage. Knowing the cause of the leak, as well as what to do to fix it, is key to successfully patching up the roof quickly and efficiently. Read on for some helpful guidelines to fix up a leak.
Determine the Source of the Leak
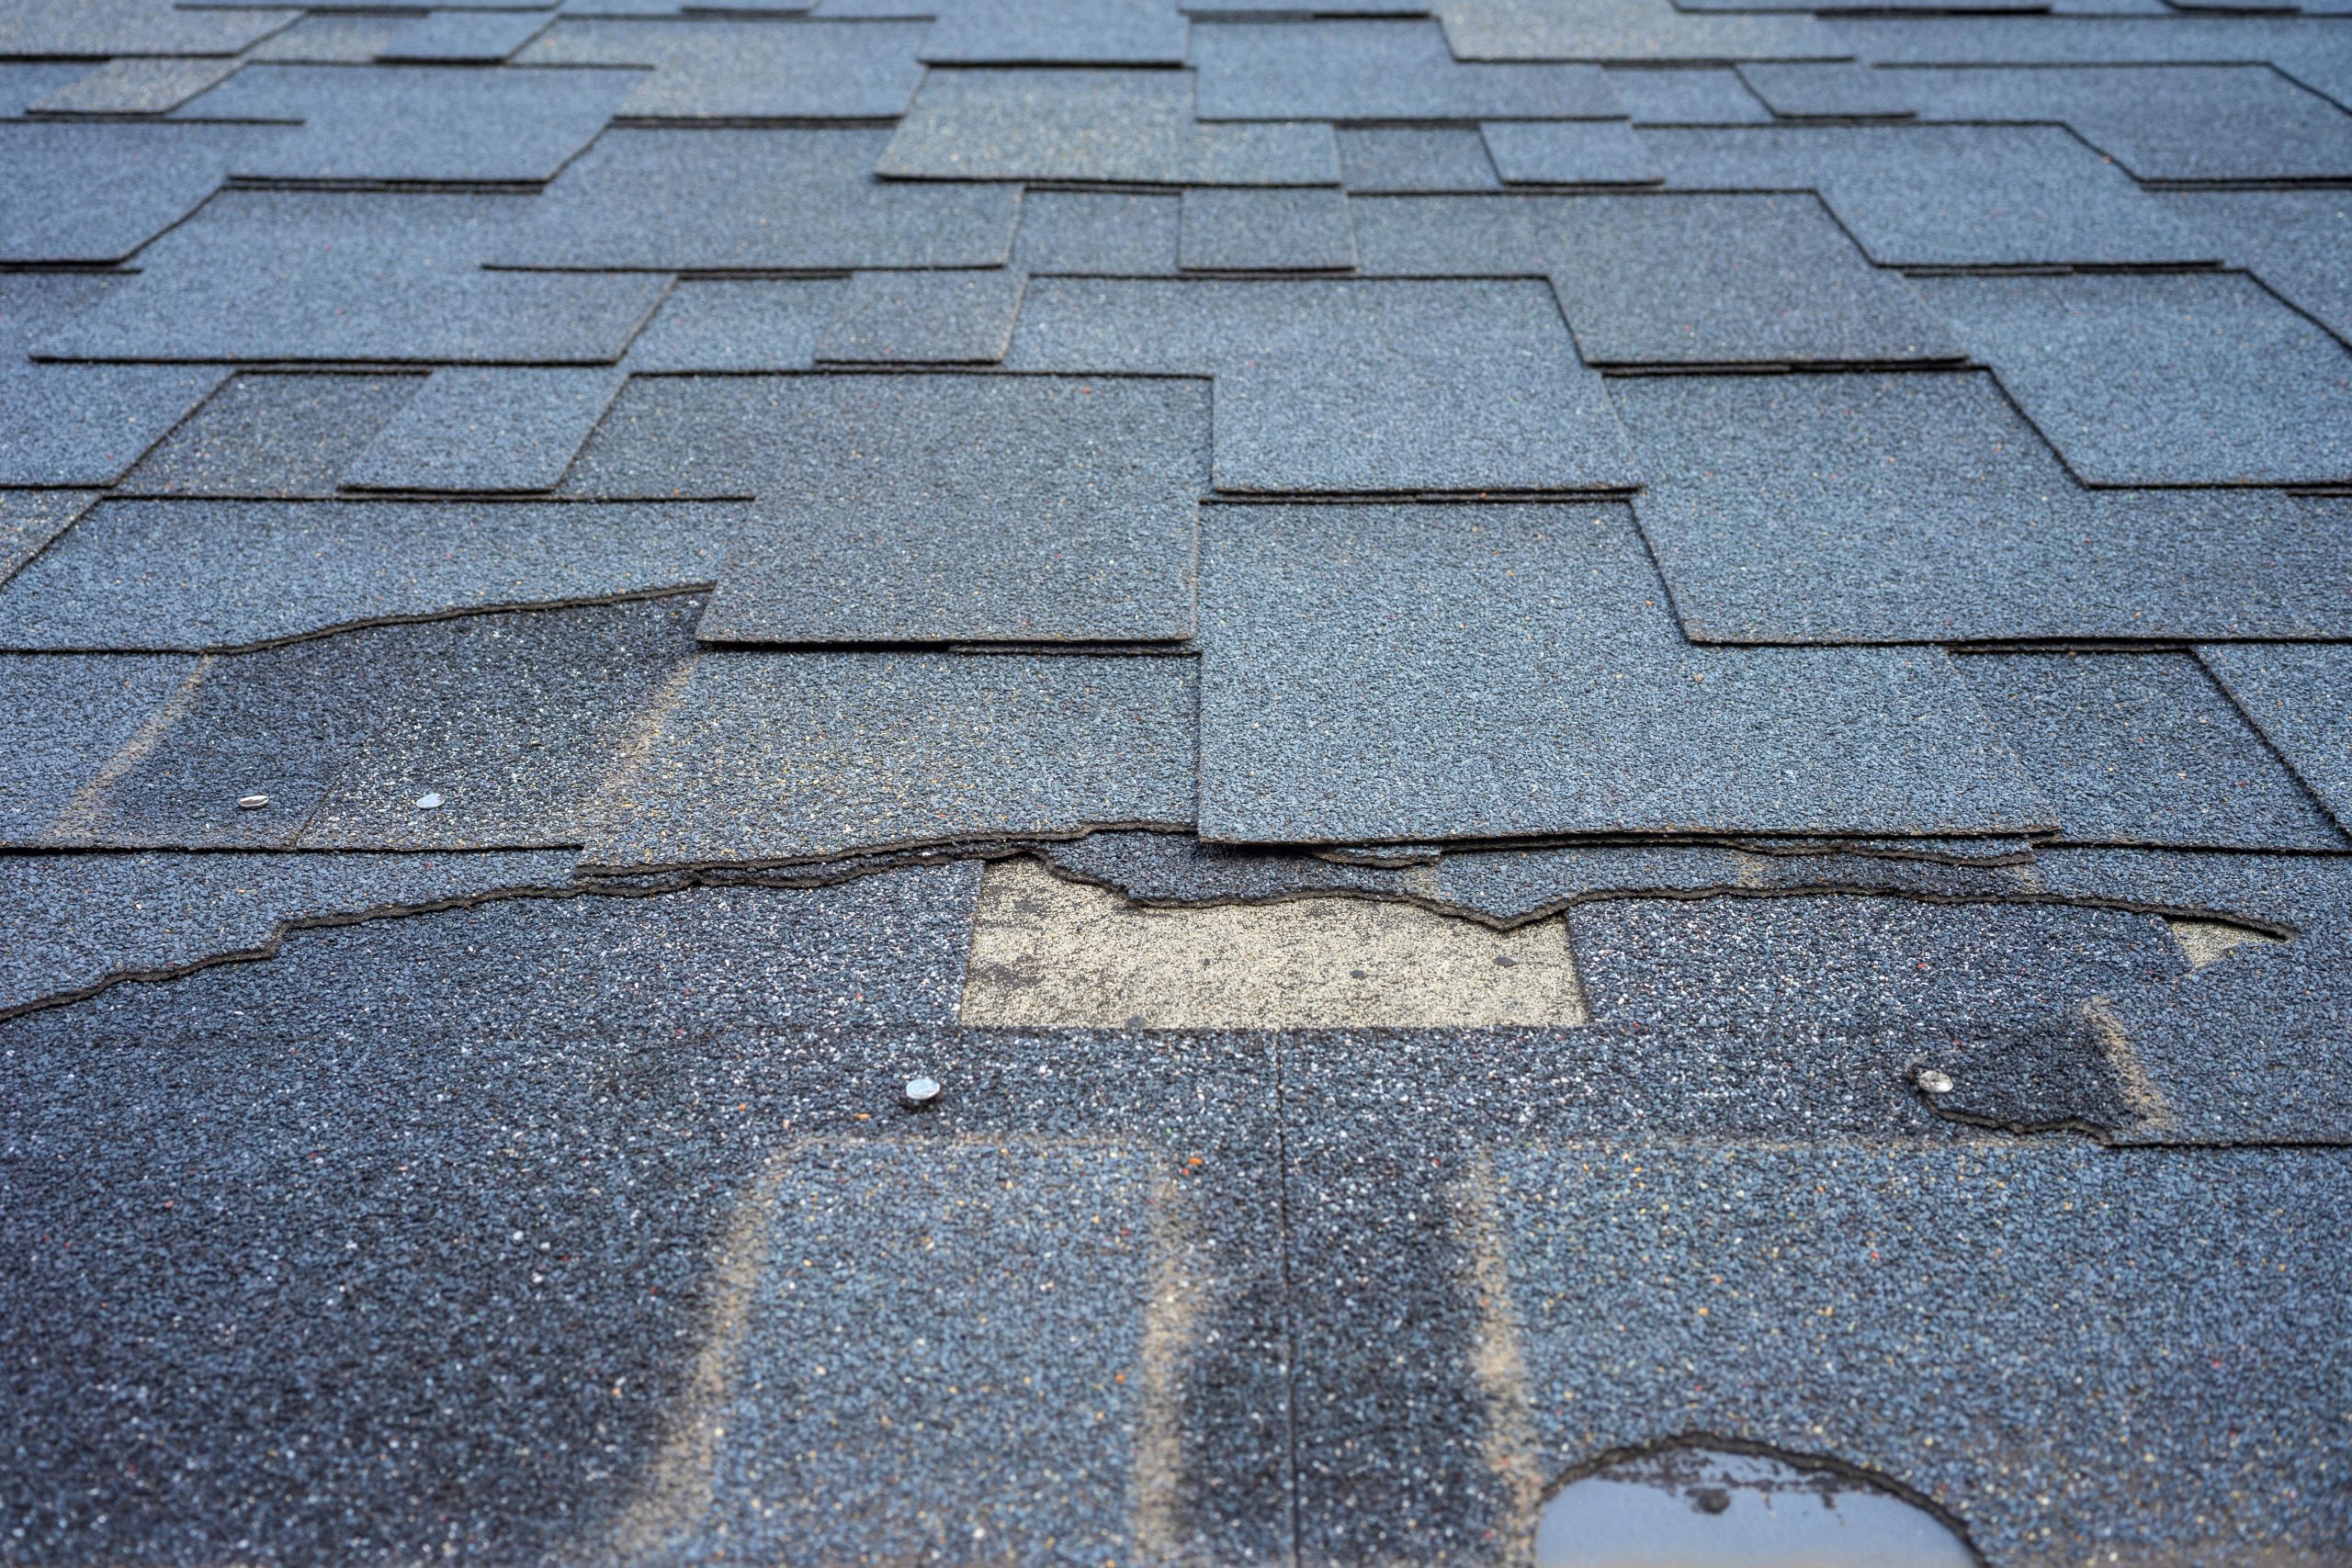
The first step in fixing a roof leak is to determine where the water is entering your home. Water may be running down interior walls, or pooling in the attic or on top of the roof. A quick inspection should help you identify the source of the leak, so you can get started on making repairs quickly.
Be sure to take note of the shape, size and location of the leak, as this will help you decide what type of repair materials to use. If possible, take photos or make sketches to better understand the layout of your roof before making any repairs. This can help you properly diagnose and address the issue in a timely manner.
Make Sure the Area is Clean and Dry
Once you have identified the source of the leak, it’s important to make sure that the area is clean and dry. Start by removing any debris or materials like leaves and branches that may be blocking access to the problem area. Then, use a brush and warm water to scrub away dirt and grime from the surface of the roof. After the area is clean, use a cloth or towel to dry the area completely before making any repairs. This ensures that all of the repair materials adhere properly and will help your roof stay leak-free for longer.
Using a fan is an effective way to help dry out a space after cleaning and before making repairs. A household box fan should be enough for a smaller leak, but you may need to find or rent a larger one to cover a bigger area. Place the fan near the leaky area and turn it on, allowing it to blow across the surface of the roof. This will help speed up the drying process so you can get started on your repairs right away.
Use caution when using fans, as strong winds can cause debris to fly around and could damage the roof further. Make sure that you secure any loose items on the roof before turning on the fan. Additionally, be mindful of moisture levels in your attic or other areas of your house; if it is too humid, a fan may not be enough to properly dry out the area.
Patch the Leak
With the work area clean and dry, it’s time to patch up the leak. The type of material needed for patching the leak depends on where it’s located on your roof. For shingle leaks, use a tube of roof cement or sealant to fill in any gaps between shingles. Once applied, press down firmly on the patch to ensure that it is secure. For a metal roof, use a self-adhesive flashing material to cover up any holes or cracks in the paneling. Make sure to press firmly and evenly over the area for a tight seal. If you need more support for your repair, use nails or screws along with sealant to reinforce the patch.
For any type of roof repair, it is important to use the right materials. You can find these materials at most home improvement stores or online retailers. Make sure to select materials that are intended for use on your specific type of roofing and check if they come with a warranty. This will help ensure that you’re using materials designed to last and will provide the best protection for your home.
Check for Other Leaks
Once you have successfully patched up the roof, don’t forget to check for other leaks that may be present in your home. Inspect both the interior and exterior of your home, as well as any faucets or fixtures, for any signs of water damage or leaking. Repair any other found leaks and monitor the area over time to ensure that the repair was successful.
If the leaks in your home are severe or you feel that you may not be able to handle the repair yourself, it is best to call a professional. A roofing contractor can provide an inspection and assessment on the source of the leak, as well as help with repairs. They will have all of the right materials needed for a safe and successful repair, as well as the knowledge and experience needed to handle any issues that may arise. Additionally, a roofing contractor can help you find ways to prevent future water damage and keep your home safe from further leaks. Letting a professional take care of the job will get you peace of mind knowing your home is protected.
Make Sure the Roof is Securely Attached
If the roof has been damaged or weakened due to age and weather damage, you may need to secure it with nails, screws, or other materials. Keep in mind that this task may involve getting on top of your roof shingles, which can prove to be dangerous work if you aren’t careful or experienced. If this job seems a bit much for you, don’t hesitate to call a licensed roofing company like Pelican Roofing. They will help you with any and all issues with your roof and take care of the problem so you don’t have to.
Seal Up the Roof
After making sure the roof is securely attached, it’s time to seal up your roof. You can do this with a layer of roofing tar or a tar paper. This will provide an extra layer of protection and help prevent future water damage. Be sure to cover all seams and areas that have been patched up to create a tight seal.
These are the essential steps for patching up a roof leak. Although it may seem like a daunting task, with patience and careful work you can successfully repair your roof in no time! If you ever feel that the job is too large or complex to handle by yourself, don’t hesitate to contact a licensed roofing contractor. They will be able to diagnose and address the issue with professional expertise.


More from Lizzie W


No Comments
Leave a comment Cancel