Whether you are fixing the walls in your current house, or you are constructing a new one from scratch, learning how to put in drywall is a crucial skill that will save tons of cash and help quicken the building process.
Don’t be shy – with a bit of effort and some trial and error, anyone can get decent at it.
Now a CEO of his own drywall company in Denver, Colorado, Lloyd Claycomb was once as green as can be at this trade. Once he decoded the process, though, he immediately saw how he could create a business based on this specialty.
Rising rapidly in the ranks of the Denver building community due to its reputation for excellence, United Builders Service has become one of the most trusted companies of its kind in Colorado.
He accomplished this by doing right by his customers by cultivating a culture of pride in one’s workmanship. With very little re-work done by UBS last year, they continue to hit their objectives.
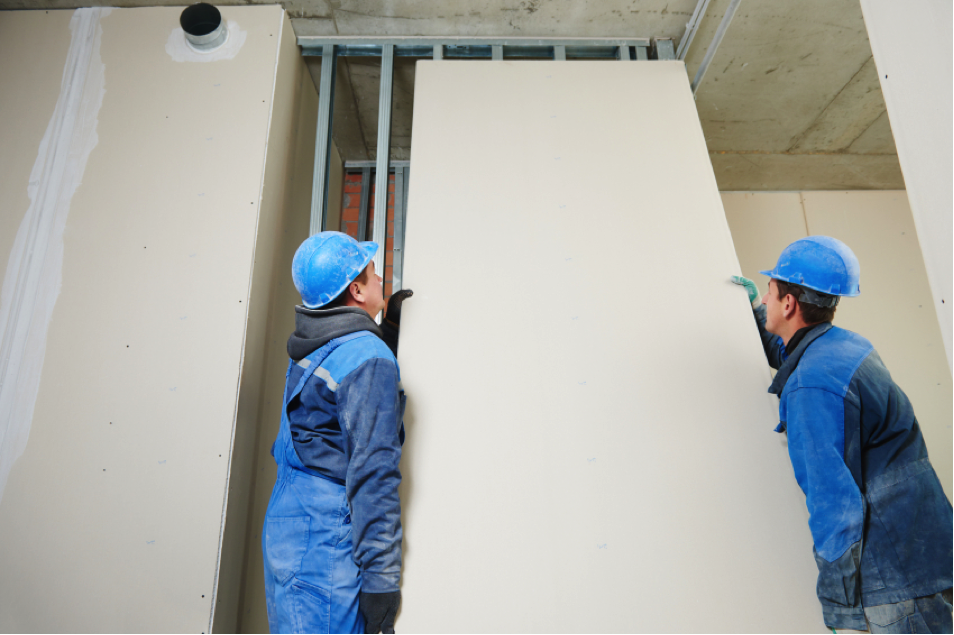
Want to hang drywall just as competently as these installers? This tutorial will run down a few basics that will make your upcoming project that much easier.
1) Get all the tools and materials required for the job
Before you can hang a single sheet on your ceilings or walls, you’ll need to purchase supplies that are compulsory for the task.
You’ll obviously need drywall panels, but a drywall square, drywall knife, and a special drywall saw are also necessary.
You’ll also have to buy drywall tape, mud, and screws, the last of which will be needed to tack the sheets to the supports in the walls and ceiling.
Don’t forget to get a mud pan or a paper taper either – if you can’t find them, ask an expert when you are shopping at Home Depot.
2) Measure everything out
Got all your supplies? It is now time whip out a tape measure, as this will help to determine how many panels you’ll have to install.
While you are at it, affix fasteners to the studs and joists. This will make you sheets more stable as you put them in, so don’t neglect this step.
Also, you may end up having to slice them up into smaller plates to fit awkwardly shaped spaces. Measure to see where cuts will be required, and use your drywall knife to get it done.
3) Install the drywall plates
Begin with the ceiling, then go to the wall secondly. While you hanging them, line up the edges of the drywall over the center of studs and joists. Doing so creates strong anchors, which will improve the integrity of your wall/ceiling.
Use drywall bits to affix the plates, but take your time, as these bits can cause damage when they are screwed in too quickly.
4) Cake mud on the exterior of the drywall
Once all drywall panels have been installed, apply a layer of mud on their outside surface. Doing so will make the application of interior paint and texture a much easier task. After this, tape the joints, but be sure to do it before the mud dries completely.


No Comments
Leave a comment Cancel