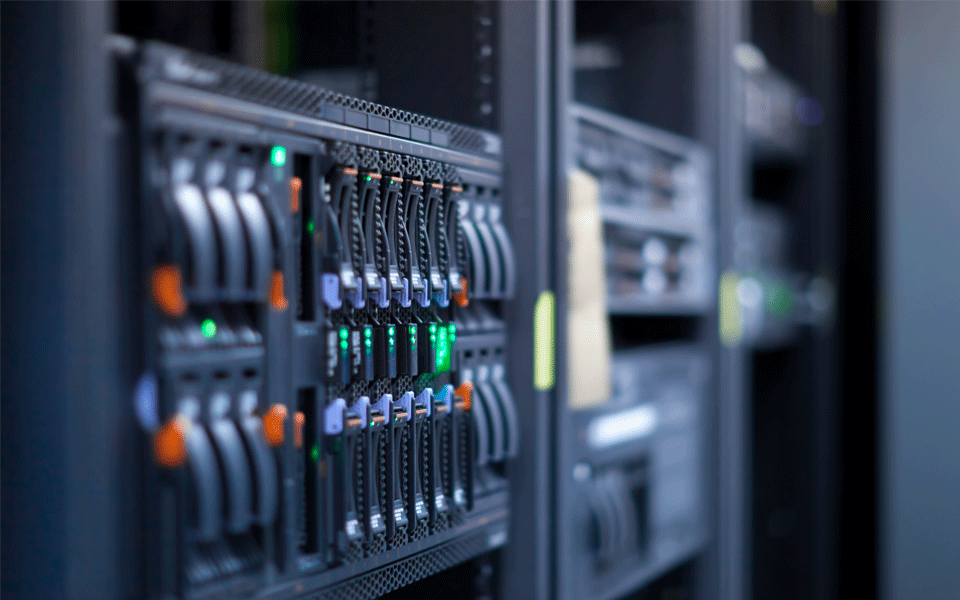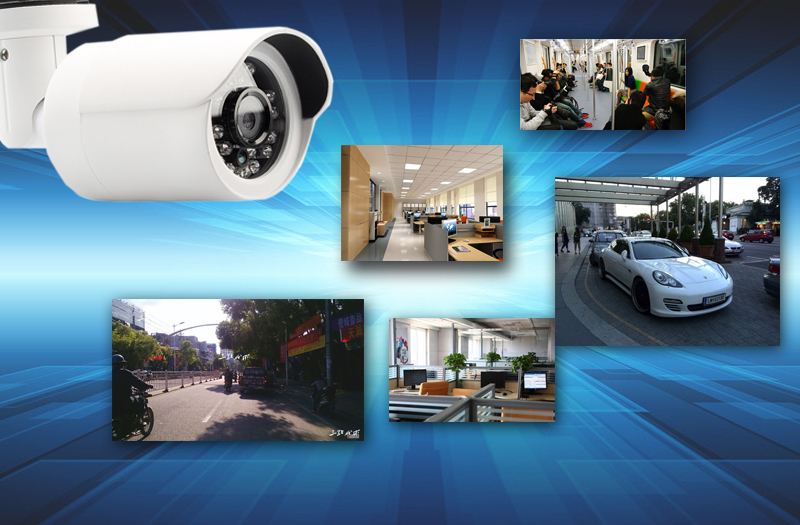
So you’ve just installed your WiFi security cameras, and your spanking new home security systems are now online. Two significant advantages to this system is being able to remotely access the live video feed via wireless Internet access, and then storing a backup copy of that same video feed on servers located all over the world.
The latter feature is a great way to create a backup of WiFi security camera footage that you can download on demand. The question is, how do you go about storing that footage on the cloud? Here’s a guide:
Start By Looking for a Reliable Cloud Storage Provider
One of the first things you need to do is find a good service provider specializing in security camera footage. These providers offer software packages and flexible storage plans and that can connect directly with a WiFi surveillance camera.
Some providers, like MangoCam, offer free storage services for light users or those that want to test their basic platforms out. Others like DropCam and Security Camera Warehouse offer premium packages with a wide array of bonuses, from motion-activated “event” recording to higher frame rates and video quality.
Define what you want, outline your budget and choose a provider you’ll want to work with. Once you do that, follow the instructions provided by your chosen provider and you should be good to go!
Provide the Necessary Information
Most WiFi security cameras come with software packages that you need to install, either through CDs or downloads on the manufacturer’s website. This software will often automate the setup process and give the information you need to remotely view and manipulate your WiFi security cameras.
The most important bits of information you will need to note down are a) the IP address that you use to remotely view your wireless security cameras, and b) the ports used by the WiFi security cameras on your wireless router. These numbers will allow you (and your chosen cloud storage provider) if your internet connection uses a static IP address.
This can be a problem, however, if your ISP allots you with a dynamic IP address – one that changes after enough time has passed. A dynamic DNS (DDNS) service provider will allow you to bypass that issue. Most DDNS providers offer their services for free, so simply create an account and jot down the link that will connect the DDNS provider to your home surveillance cameras. You will use this link along with the ports your camera uses to remotely access the video feed.
Secure Your Wireless Security Cameras
If you don’t want total strangers accessing the video feeds from your household security systems, then you will need to protect all the information that you give to the service providers you will work with.
The first and most important thing to do is encrypt and password-protect the feeds from your WiFi security cameras. WPA, WPA2 and WEP encryption will ‘scramble’ your video feeds unless the right key – the password – is provided. Make sure you remember this password as you will need to give it to the cloud storage provider you will choose to work with.
Another equally, but often overlooked aspect of securing the feed from your digital cameras is antivirus protection. Good antivirus programs will help screen malicious software and prevent them from compromising the computer system that you use to receive footage from the cameras. Make sure to install an antivirus software package of your choice while minimizing web browsing and program installation on the PC that handles the security footage.
Keep these three simple guidelines in mind and you will have a much easier time creating a backup copy of the video footage from your WiFi security cameras on the cloud!
Looking for the best WiFi security cameras at the most affordable prices? Check out Chinavasion’s extensive catalogue of cameras over at Chinavasion.com! The wholesaler caters not only to entrepreneurs looking for a new source of gadgets to sell, but also to the hardcore gadget lover hunting for the best deals around the ‘net!