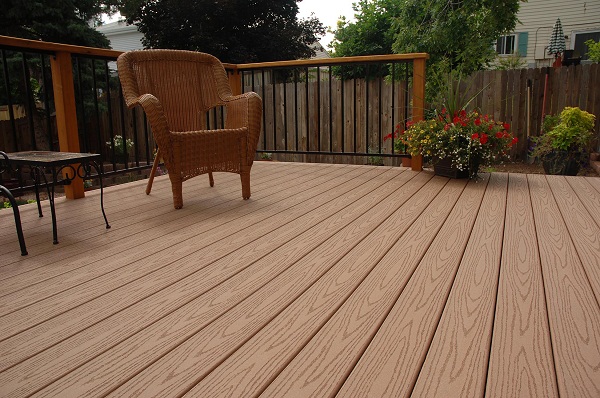
A deck that wraps around the outer edges of a house can be quite useful, especially during the spring or summer months where it can give you a good view of your garden while still enjoying the shade under the roof.
It is usually the standard practice to have a handyman come by to build the deck, but it is actually quite possible to build one yourself. Hardware stores that stock and sell the handy joist hanger has made it much easier for homeowners to put up their own decks.
To build your own deck at home, simply go by the following steps:
- Attach the ledger board to the surface of the wall where you’d like to install the deck onto. Measure 24 inches from one end of the ledger board to determine the position of the first joist and mark it.
- Line up the first joist hanger onto the marked area with a 2” x 6” wood block template and then nail it onto the ledger board.
- Connect another joist hanger opposite the first one in the way.
- Install the other joist hangers at a distance of 24 inches from each other.
- Using a chop saw, cut up a 2” x 6” wooden board into joists. Slide each joist between the joist hangers, and then secure them in place by hammering nails into the sides. As an added tip, you can have someone even out the pressure on the wooden joists by standing atop them as the nails are hammered in. This prevents the deck from squeaking loudly when stepped on once it is finished.
- Install the other joists in the same manner as stated in step 5.
- Measure the desired area for the deck and then use that measurement to cut the first deck board that you need to attach to the ledger board. Use a circular saw for a more precise measurement. You may also use a jigsaw to cut notches along the deck board so it fits in better along the perimeter of the house.
- Build the deck by placing the first deck board next to the ledger board and atop the joists. Have someone step on the deck board to hold it in place while you use a screwdriver to secure the deck board onto the joists underneath.
- Use the screwdriver to attach the remaining deck boards, adjusting the distance between each one depending on the prevailing climate in your area. Dry, tropical climates will require smaller spacing between the deck boards as the heat sometimes causes the wooden boards to shrink. Bigger spacing is necessary for those living in humid climates since the moisture tends to make the wooden boards swell.
- Attach the support posts directly onto the edges of your deck boards rather than on the concrete slab on the ground underneath.
As an optional step, you can then paint or apply a tinted wooden stain onto the surfaces of your deck boards for a more polished finish. Depending on the type of wood you used, you can also leave the deck unpainted and unvarnished for a more rustic look.


No Comments
Leave a comment Cancel